
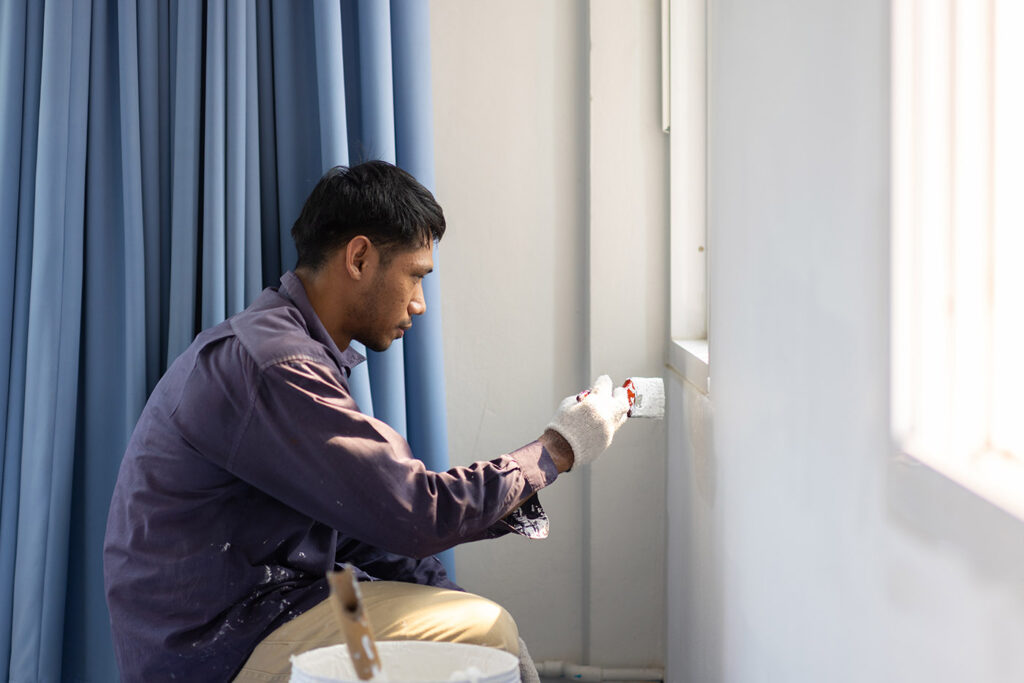
To prepare home for painters, focus on access, protection and clear decisions before the crew arrives. A good painting preparation checklist helps you move furniture before painting, protect floors when painting and avoid delays caused by clutter, repairs or missing colour choices. Proper setup makes interior work cleaner, faster and easier to manage.
To prepare home for painters, start by clearing the work area, confirming colours and finishes, and making sure walls are accessible for surface preparation. In most homes, the goal is simple: give the painters room to patch, sand, prime and paint efficiently while protecting floors, furniture and everyday items.
If you are booking interior painting services, a little planning before day one may reduce disruption and help the project stay on schedule. This matters even more in busy GTA homes, condos and rental units where access, elevators or parking may need to be arranged in advance.
How to prepare home for painters before the crew arrives
Preparing for painters means removing obstacles, protecting valuables and making decisions early so the crew can focus on the work. Most delays happen when rooms are still in use, furniture is packed too tightly against walls, or repairs are discovered after the start date.
What homeowners should do 1–3 days before painting
A practical painting preparation checklist usually starts with the items you use every day. The more open the room is, the easier it is to complete clean cut-in lines, even coverage and proper drying between coats.
- Move small furniture, lamps, plants and décor out of the room.
- Take down art, mirrors, clocks, curtain rods and wall-mounted shelves where possible.
- Remove fragile items from nearby furniture and cabinets.
- Clear closets if trim, doors or inside surfaces are being painted.
- Choose final colours, sheen and accent walls before the start date.
- Set aside pets and make plans for children to stay clear of active work areas.
Move furniture before painting: how much is enough?
Yes, you should move furniture before painting as much as you reasonably can. Ideally, large items are removed from the room; if that is not practical, they should be grouped in the centre with enough clearance around the walls for ladders, patching tools and drop sheets.
For bedrooms and living rooms, leave access to every wall, corner and ceiling line. In condos in Toronto, Vaughan or Mississauga, where space may be tighter, painters can often work around larger pieces, but the setup may affect labour time and how easily ceilings, trim and behind-door areas can be reached.
Decide on colours, sheen and scope early
One of the easiest ways to avoid delays is to confirm the full scope before work begins. That includes which rooms are included, whether ceilings and trim are part of the project, and whether damaged areas need drywall mud, spot priming or a full skim coat.
If you are still comparing finishes, this quick guide helps:
| Finish | Best use | Trade-off |
|---|---|---|
| Flat | Ceilings, low-traffic walls | Hides surface flaws well but may mark more easily |
| Eggshell | Living rooms, bedrooms, hallways | Balanced look and washability |
| Satin | Kitchens, baths, kids’ rooms | More durable, but surface defects may show more |
| Semi-gloss | Trim, doors, some cabinets | Easy to clean, highlights imperfections |
If you need help narrowing down colours for natural light, room size or resale, a colour consultation for your home may save time once the crew is booked.
Protect floors, belongings and access points
To protect floors when painting, remove what you can, cover what stays, and keep a clear path from entry to work area. Professional crews typically bring drop sheets and masking materials, but homeowners still play an important role by reducing clutter and securing valuables.
How to protect floors when painting
Floors should be clean and reasonably clear before the crew arrives. Dust, loose rugs and cords can get in the way of ladders and may affect how safely the room can be set up.
- Roll up area rugs and store them away from the work zone.
- Pick up floor lamps, baskets, toys and loose electronics.
- Remove small mats from bathrooms, kitchens and entryways.
- Make sure hallways and stairs are open for carrying tools and drop sheets.
- Point out delicate flooring, recent refinishing or surfaces that need extra care.
Paint crews generally use protective coverings suited to the surface, but it helps to mention if you have hardwood, natural stone or newly installed flooring. In older Ontario homes, uneven subfloors and tight staircases can also affect how materials are moved through the space.
What to do with wall hangings, electronics and valuables
Take down anything attached to the walls unless you have confirmed it will stay in place. Electronics, speakers and televisions should be unplugged and moved if painting is happening nearby, especially where sanding dust or primer overspray may be part of the surface preparation process.
This is also the right time to back up home office equipment and clear desks if a study or commercial-style workspace is included. For offices, clinics or retail spaces, after-hours commercial painting may be worth considering to reduce disruption.
Plan for ventilation, pets and daily access
Interior painting often involves patching compounds, primer and low-VOC or standard coatings, depending on the surface and project needs. Good airflow matters, and Health Canada provides general information about indoor air quality and renovation considerations at Canada.ca.
Before work starts, decide which entrance the crew will use, where tools can be staged and which washroom, if any, is available. Keep pets secured away from open doors and wet surfaces, and let the crew know if anyone in the home is sensitive to odours or needs access to specific rooms during the day.
Check walls for repairs before painting day
The best paint job starts with the surface underneath. If walls have nail pops, dents, peeling areas, water stains or old patchwork, flag those issues early so the estimate reflects the real prep required and the crew can bring the right materials.
Common problems that affect prep time
- Hairline cracks in plaster or drywall joints
- Peeling paint or glossy surfaces that need sanding
- Water-damaged drywall around windows, baths or basements
- Textured walls that need smoothing for a cleaner finish
- Holes from shelving, TV mounts or curtain hardware
If you already know repairs are needed, it is worth asking about drywall repair before painting instead of treating it as a separate issue later. Sending wall photos for a quick quote can help identify whether the job may need patching, stain-blocking primer or more extensive prep.
Older homes: plaster, lead paint and textured ceilings
In older Toronto and Markham homes, walls may be plaster rather than standard drywall, which can change repair methods and timelines. If a home may contain lead-based paint, especially in pre-1960s areas, or if older textured ceilings may contain asbestos, testing by a qualified professional is the safest approach before sanding, scraping or removal.

What affects the cost and schedule of an interior painting project
What changes the price the most?
The biggest cost factors are square footage, surface condition, ceiling height, number of coats and how much prep is needed before paint goes on. If a room needs extensive patching, stain blocking, caulking, sanding or a skim coat, the labour may increase more than the painting itself.
Homeowners often focus on wall colour, but the real difference in pricing usually comes from access and prep. A straightforward repaint in an empty condo in Vaughan may move faster than a furnished older home in Toronto with cracked plaster, detailed trim and multiple repair areas.
- Wall and ceiling condition
- Amount of furniture left in place
- Trim, doors and baseboards included or not
- Dark-to-light or light-to-dark colour changes
- Primer requirements for stains, repairs or strong colours
- High stairwells, vaulted ceilings or tight hallways
If you are comparing quotes, make sure the scope is clear. Ask whether patching, priming, cut-in work, ceiling lines, touch-ups and cleanup are included, especially if you are booking a broader residential painting service rather than just one room.
Why some rooms take longer than expected
Bathrooms, kitchens and stairwells often take longer because they have more edges, fixtures and detailed cut-in work. Rooms with grease, moisture marks or previous patchwork may also need extra surface preparation to get even coverage and a consistent finish.
Drying and recoat timing can also affect the schedule. Even when paint feels dry to the touch, the next coat or final use of the room may depend on humidity, airflow, product type and temperature inside the home.
From estimate to final walkthrough: what to expect
How the process usually works
Most interior jobs follow a simple order: review the scope, prepare the room, repair surfaces, prime where needed, apply paint, complete touch-ups and do a final walkthrough. Good planning before the start date helps each step move more smoothly.
- Estimate and scope review: Rooms, ceilings, trim, doors and repairs are confirmed.
- Colour and finish approval: Final selections are locked in before materials are scheduled.
- Site setup: Floors, fixtures and remaining furniture are protected.
- Surface preparation: Holes are filled, drywall mud is sanded, glossy spots are dulled and problem areas are primed.
- Painting: Cut-in is completed first, then rolling and additional coats as needed for coverage.
- Inspection and touch-ups: Missed spots, light lines and repaired areas are checked once dry.
- Final walkthrough: The completed scope is reviewed with the owner or manager.
How long before you can use the room again?
Most rooms can be used lightly after the paint has dried, but full curing time is longer. Furniture, wall art and heavy cleaning should usually wait until the coating has had time to harden properly, which may vary by product, sheen and indoor conditions.
This matters in busy family homes and rental turnovers across Mississauga, Brampton and Markham. Rushing furniture back against fresh walls is one of the most common causes of scuffs, sticking and early touch-up marks.
Simple timeline expectations
- Fresh patching or primer may need drying time before topcoats
- Additional coats may be needed for deep colours or uneven surfaces
- Higher humidity may slow drying and curing time
- Trim and doors often need more protection from early contact
- Final touch-ups are usually easier after the paint has flashed off and settled
If your project includes more than standard wall paint, such as a logo or decorative feature, a custom wall printing service may follow a different schedule depending on wall smoothness, design size and whether the surface needs a fresh base coat first.
Common preparation mistakes that create delays or extra touch-ups
What should you avoid before painters arrive?
Avoid last-minute room changes, unfinished repairs, uncertain colours and overfilled spaces. These issues slow down setup, affect access and may lead to rushed decisions about primer, sheen or number of coats once the crew is already on site.
Many problems start with good intentions. Homeowners may try to do a few repairs themselves, but uneven sanding, loose tape joints or poorly feathered filler can show through the final coat more than expected.
- Leaving nails, screws or wall anchors in place
- Washing walls too late and not allowing them to dry
- Using random sample patches without marking the final colour choice
- Pushing furniture back too soon after painting
- Forgetting to remove items from closets, pantries or built-ins included in the scope
- Not arranging elevator access or parking in condos and mixed-use buildings
DIY prep vs professional prep
Some homeowner prep is helpful, but technical surface work is usually better left to the crew. If you are unsure whether a wall needs sanding, stain sealing or a full skim coat, it is better to ask during the estimate than risk extra corrections later.
| Task | Usually fine for homeowner | Usually better for professional |
|---|---|---|
| Removing décor and small items | Yes | No |
| Moving lightweight furniture | Yes | No |
| Filling minor pin holes | Sometimes | Often |
| Sanding repairs smooth | Sometimes | Yes |
| Priming stains or damaged areas | Sometimes | Yes |
| Large crack repair or skim coating | No | Yes |
If the walls are heavily textured, previously wallpapered or damaged by moisture, prep may be more involved than it first appears. In those cases, related services such as wallpaper removal before repainting should be discussed early so the finish plan matches the actual surface.
Final checklist before booking the crew
To prepare home for painters properly, think beyond moving a few chairs. Confirm the scope, clear access, protect the rooms you still need to use and flag any wall issues before work begins. A solid painting preparation checklist helps avoid preventable delays, especially when drying time, repairs or condo logistics are part of the job.
If you want to prepare home for painters without guessing what matters most, Walls Master can help assess the walls, ceilings and trim before the first drop sheet goes down. For painting, drywall and wall printing across Toronto, Vaughan, Mississauga, Brampton, Markham and Richmond Hill, book a free estimate or send wall photos for a quick quote.
Frequently Asked Questions
What is the best way to prepare home for painters before they arrive?
The best way to prepare home for painters is to clear access, remove small items and confirm colours before the start date. Take down wall décor, move fragile belongings and keep pets or children away from work areas so the crew can patch, sand, prime and paint efficiently.
Does moving furniture before painting affect the price or timeline?
Yes, moving furniture before painting may affect both labour time and scheduling. Empty rooms are typically faster to set up, while crowded rooms, tight condos or heavy furniture can slow access to walls, trim and ceiling lines. Larger items can often be grouped in the centre if removal is not practical.
How do painters protect floors when painting inside a house or condo?
Professional painters typically protect floors when painting by using drop sheets, masking and surface-appropriate coverings. Homeowners should remove rugs, cords, floor lamps and loose items beforehand. It also helps to point out delicate hardwood, natural stone or newly refinished flooring so extra care can be planned.
How long after interior painting can I move furniture back and use the room?
Most rooms can be used lightly after the paint has dried, but moving furniture back too soon may cause scuffs or sticking. Drying and curing times vary by paint type, sheen, humidity, airflow and temperature. Heavy cleaning, wall art and furniture against walls should usually wait longer.
What should be on a painting preparation checklist for a GTA condo or rental unit?
A painting preparation checklist for a condo or rental should include colour approval, elevator or parking arrangements, clear hallways, removed wall hangings and protected valuables. Confirm which rooms, ceilings, trim and closets are included. Walls Master can also review photos or visit on site for a free estimate.
Should I repair drywall myself before painters come, or let the professionals do it?
Small homeowner prep is useful, but visible drywall repairs are often better handled by professionals. Uneven filler, poor sanding or loose tape can show through the final coat. If there are cracks, water stains, old patches or textured surfaces, ask during the estimate so the prep is properly planned.